Transak step by step: A guide to buying PBX
December 11, 2023
Today, we'll show you how to buy PBX using the Transak service. Currently, we don't have this service integrated into the Probinex client account, but you can already purchase PBX tokens using it.
Moreover, if you have previously bought the USDC cryptocurrency on Earnio, there is no need for identity verification as you already have it complete.
Step-by-step guide to buying PBX
1. Visit the website https://global.transak.com/ and choose the currency and cryptocurrency you want to buy. In the Using payment method section, select your payment method.
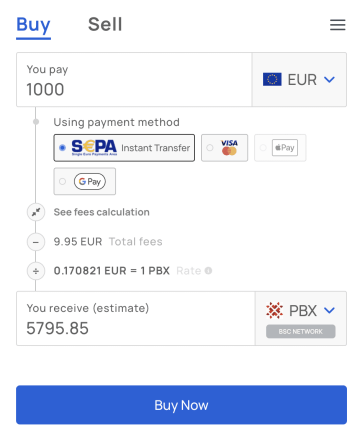
Note: In the case of your first purchase, it doesn't matter which FIAT currency and cryptocurrency you choose; it's just a step for verification.
You can buy PBX tokens in EUR through SEPA transfer or through card payment.
Transak will directly show you the estimated amount of PBX you would receive, along with the associated fees. SEPA payments in EUR are usually cheaper than card payments; however, we recommend comparing both methods. If satisfied, click the Buy Now button.
2. In the field labeled PBX Wallet Address enter the address of your cryptocurrency wallet in Probinex.
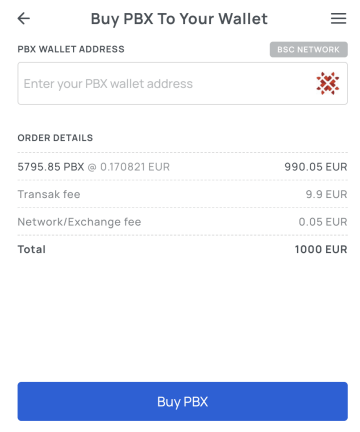
3. Find this address by logging into your Probinex client account, clicking on Buy, Deposit in the main menu, selecting Deposit and locating your wallet address. Copy it by clicking the copy icon and paste this address into the field mentioned in step 2. Click the Buy PBX button.

4. On this page, enter your email to register with Transak. We recommend using the same email you use in Earnio and your Probinex client.probinex.com account. Confirm your selection by clicking the Continue button.

5. An authentication code will be sent to your email. Enter the verification code and read the terms of service. If you agree, check the Terms of Use box. To continue the process, click Continue again.

6. The following steps are only necessary if this is your first purchase via Transak. If you are already verified in Transak, you can skip directly to step 19. Enter your First Name, Last Name, Mobile number, and Date of Birth. Then click Continue.

7. On the next screen, provide your address details. Enter your house number, street, Region, City, Postal Zip code, and Country. Click Continue.

8. The next step involves identity verification. You'll need an identification document (ID card or passport) and a document as a proof of address, preferably a bank statement. Make sure it contains your address, name, and is not older than 3 months. Prepare these documents in electronic form. You can download a bank statement from online banking. Click Start Verification.

9. Choose the country that issued your document in the Issuing country field and click Continue.

10. Click on the document you will use and select Continue.

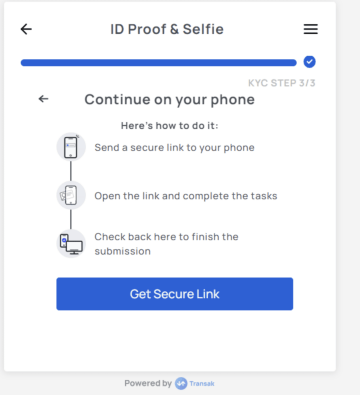
11. In this step, the application will allow you to continue on your phone. If you are completing the verification on your phone, you can skip to step 13. Click Continue on Phone.

12. You'll see options for continuing on your phone. Click Get Secure Link.
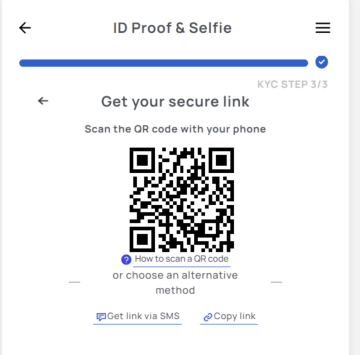
13. Three options will be presented. Either scan the QR code with your phone's camera and open the link it provides, click Get link via SMS and open that link, or click Copy link and open it in your phone's internet browser.
14. After opening the page, simply click Take Photo.
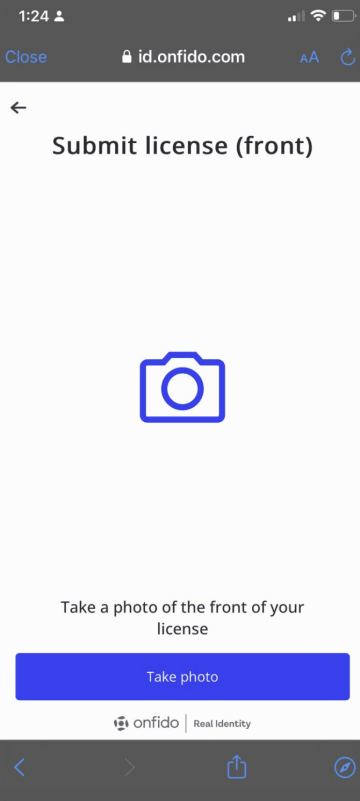
15. Take a photo of the front of your ID card, ensuring all details are visible and the photo is sharp. Take photos of both the front and back and confirm by clicking Upload.

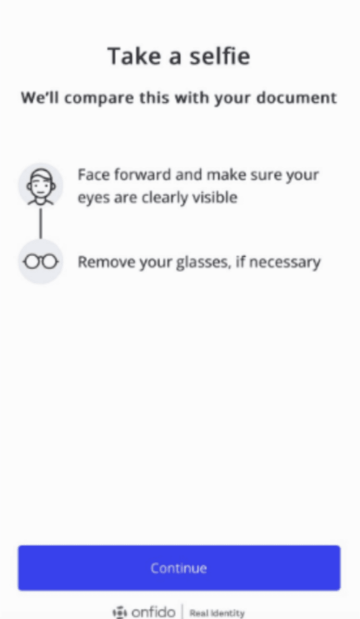
16. In the next step, you will upload a selfie of your face. Remove your glasses and click Continue. Point the camera at your face, ensuring it is well-lit and fully visible.
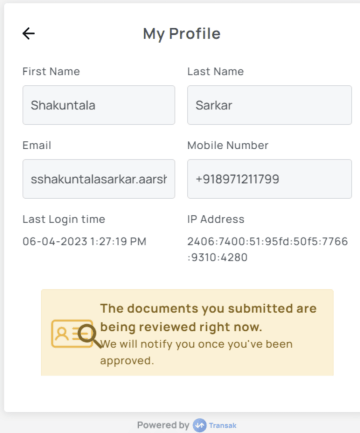
17. After capturing your face, you can continue on your computer. You'll see that the documents are currently being verified.

18. In the next step, you'll also see the details you provided. A confirmation email will then be sent to you that the verification was successful. This usually takes no more than a few seconds/minutes.
19. For the actual purchase, only the first 5 steps are needed, without the need for verification. Visit https://global.transak.com/ and select your currency and the cryptocurrency you want to buy.

In the Using payment method section, choose your payment method. You can buy PBX tokens in EUR through SEPA transfer or through card payment.
Transak will directly show you the estimated amount of PBX you would receive, along with the associated fees. SEPA payments in EUR are usually cheaper than card payments; however, we recommend comparing both methods. If satisfied, click Buy now.
20. In the field labeled PBX Wallet Address, enter the address of your cryptocurrency wallet in Probinex.
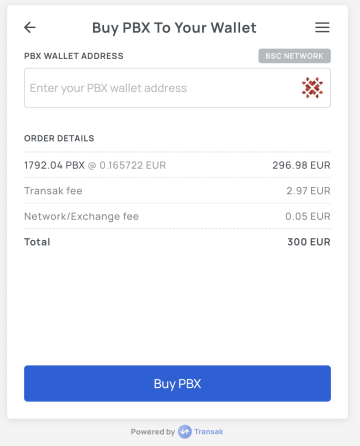
21. You will find the address after logging into your Probinex client account, by clicking on Purchase, Deposit in the main menu. Then select Deposit and you will find the address of your wallet there. Copy it by clicking on the copy icon. Paste this copied address into the field mentioned in point 2 and click on Buy PBX.

22. On this page, enter your email to register with Transak. We recommend using the same email you use in Earnio and your Probinex client.probinex.com account. Confirm your selection by clicking the Continue button.

23. An authentication code will be sent to your email. Enter the verification code and read the terms of service. If you agree, check the Terms of Use box. To continue the process, click Continue again.

24. An authentication code will be sent to your email. Enter the code and read the terms of service. If you agree, check the Terms of Use box. To continue the process, click Continue again.
After logging in, you'll see payment details based on the method you chose. If it was SEPA, you'll see Amount – the amount of money to send; Name – the account owner's name; Account number – the account number; Sort code – the sort code; Reference code – a reference, a note for the recipient. Enter these payment details in your online banking and make the transfer.
Regardless of the payment type, it's necessary to immediately check I have transferred exactly... after completing the payment and click I have paid.

That's it. Your purchase will now be processed. On the screen, you'll see the status of your order and how far its completion is. Card payments usually take a few minutes, while SEPA may take up to two business days. The PBX tokens will then be credited to your available balance in the Probinex client account.